The Writer’s Guide to Blacksmithing Basics

Since much of fantasy was inspired by the Middle Ages, it makes sense that many novels include blacksmiths. Of course, in a magical setting, blacksmiths can be elevated from hammering out horseshoes to crafting magic rings or enchanted blades. It is also common to see them highlighted in visual medium during the big “gearing up” scenes.
Unfortunately, a lot of misinformation about blacksmithing is repeated in literature. In this series, I will break down the basics, telling the history, explaining the metals, and busting the myths of blacksmithing.
As always, magic is the exception to the rule. Because magic.
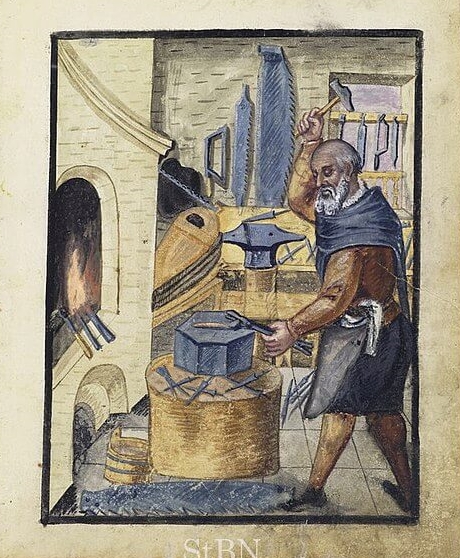
Forge and Tools
A blacksmith’s workspace is a forge or smithy. It commonly had a roof and possibly some walls. The roof was vital for shade, providing enough darkness to easily see the color of the metal. It also kept off the sun and rain. In most climates, walls were not needed since the forge provided enough heat.
The hearth where the blacksmith heats metal is also called the forge. Throughout most of history, coal was burned, although wood was also used, and modern smiths employ propane. The fire is stoked with a bellow, which blows air into the base. The modern equivalent is a blower, either hand cranked or electric.
Hot metal is carried and gripped using tongs and hammers of various weights are used to shape it. The anvil is the common work surface. I will do a Deep Dive into them in my next article.
Blacksmiths commonly wear leather aprons to protect themselves from the heat and dirt.
Cold and Hot Forging
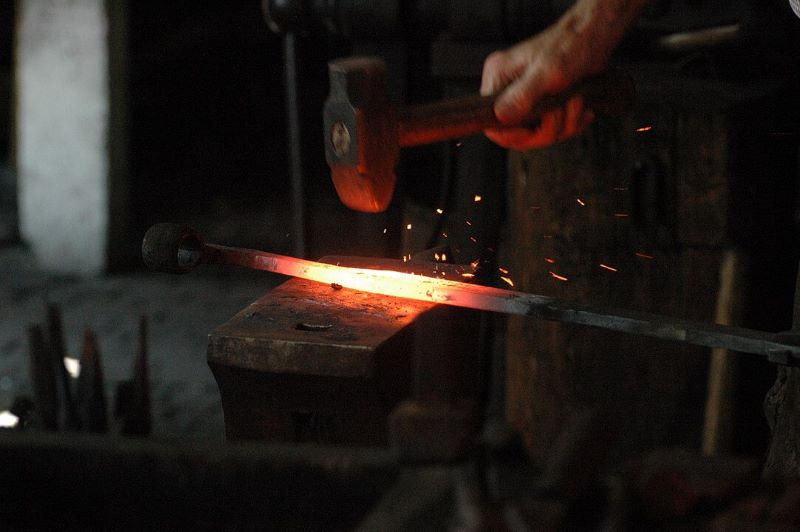
The most familiar type is hot forging, in which a smith heats a piece in the forge and works it while it is hot. The metal is nestled into the coals to heat before being moved to the anvil. Temperature and malleability of the metal can be determined by the color, starting red, turning orange, then yellow and last, white. Most forging happens when the metal is bright yellow-orange.
Cold forging involves no heat, only hammering. Copper and bronze can only be hardened by working it cold for a long period.
Forging Techniques
There are seven basic techniques to achieve the desired shape.
Drawing – Probably the most common blacksmithing operation, drawing out causes the billet to become thinner and longer. The piece can also become wider.
Bending – Metal can be bent to create either angles or curves. The anvil is an important tool when bending metal.
Upsetting – The technique causes the metal to become thicker on one end by shortening the other side. Upsetting can be performed by hammering on either the hot or cold side.
Punching – This operation produces a hole in the metal. A punch, a type of chisel with a rounded tapering head would be rested against the hot metal and hammered through. Widening the hole is called drifting and uses a series of increasingly larger punches. If a split is desired, a chisel is used. It is also used to cut the metal.
Swaging – This technique involves forcing either hot or cold metal through a die to produce shapes too intricate to make with a hammer alone.
Welding – Using this process, two pieces of metal are joined. To achieve this, the pieces must be clean and free of forge scale. Then the metal is heated until it is a bright yellow or white. The smith must be careful not to overheat the metal or it will burn or melt. Flux is used to carry scale out of the weld and protect the metal from burning. Flux is typically powdered borax, silica sand, or a mixture of the two. The two pieces are hammered together until a weld forms, often causing a lot of sparks.

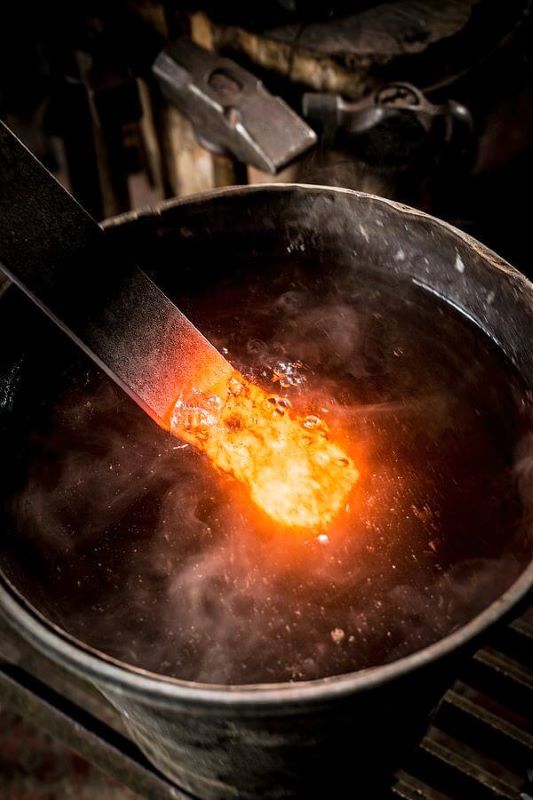
Heat Treating and Quenching
Heat treating is a method to harden or soften metal. There are several techniques including annealing, case hardening, precipitation strengthening, tempering, carburizing, and normalizing. These methods can be applied to the entire piece or portions of it.
The most well-known heat treatment method, and commonly, the last step in the forging process is quenching. The metal is heated to between 1,500 and 1,650° F (815-900°C) then submerged in water or oil, rapidly cooling it. This hardens the metal. However, the process is incredibly stressful to the metal, which can warp, crack or break.
Finishing
After hardening, the piece is brushed and filed to remove burrs and sharp edges. The rest of the finish process depends on what the item is, such as sharpening and attaching a handle on knives and swords.
I hope this was helpful. Let me know if you have questions or suggestions by using the Contact Me form on my website or by writing a comment. I post every Friday and would be grateful if you would share my content.
If you want my blog delivered straight to your inbox every month along with exclusive content and giveaways, please sign up for my email list here.
Let’s get writing!

I haven¦t checked in here for some time because I thought it was getting boring, but the last several posts are good quality so I guess I will add you back to my everyday bloglist. You deserve it my friend 🙂
LikeLiked by 1 person
I’m honored. Thank you!
LikeLike
I feel that is among the most significant information for me. And i am satisfied reading your article. But want to observation on some basic issues, The website taste is perfect, the articles is in reality great : D. Just right job, cheers
LikeLike
What i do not realize is actually how you’re no longer really much more smartly-appreciated than you might be now. You’re so intelligent. You know thus significantly when it comes to this subject, made me in my opinion imagine it from a lot of varied angles. Its like men and women don’t seem to be involved except it?s one thing to do with Girl gaga! Your individual stuffs outstanding. All the time take care of it up!
LikeLike
Thank you for sharing excellent informations. Your site is so cool. I’m impressed by the details that you?ve on this blog. It reveals how nicely you understand this subject. Bookmarked this website page, will come back for more articles. You, my pal, ROCK! I found simply the info I already searched all over the place and simply couldn’t come across. What a great website.
LikeLike